Photosprouts Photography Workshops

Hongkong | San Francisco

CHEAT SHEET FOR CAPTURING 
AWESOME IMAGES IN M MODE 

The Teen Camp Experience

Juan Carlos • June 2, 2021

One of the most outstanding students in 2020's Teenager Summer Photography Camp

As next month we will begin our summer teen camps, week-long classes aimed at budding young photographers, I thought I’d talk about one particularly impressive student from last year’s class.


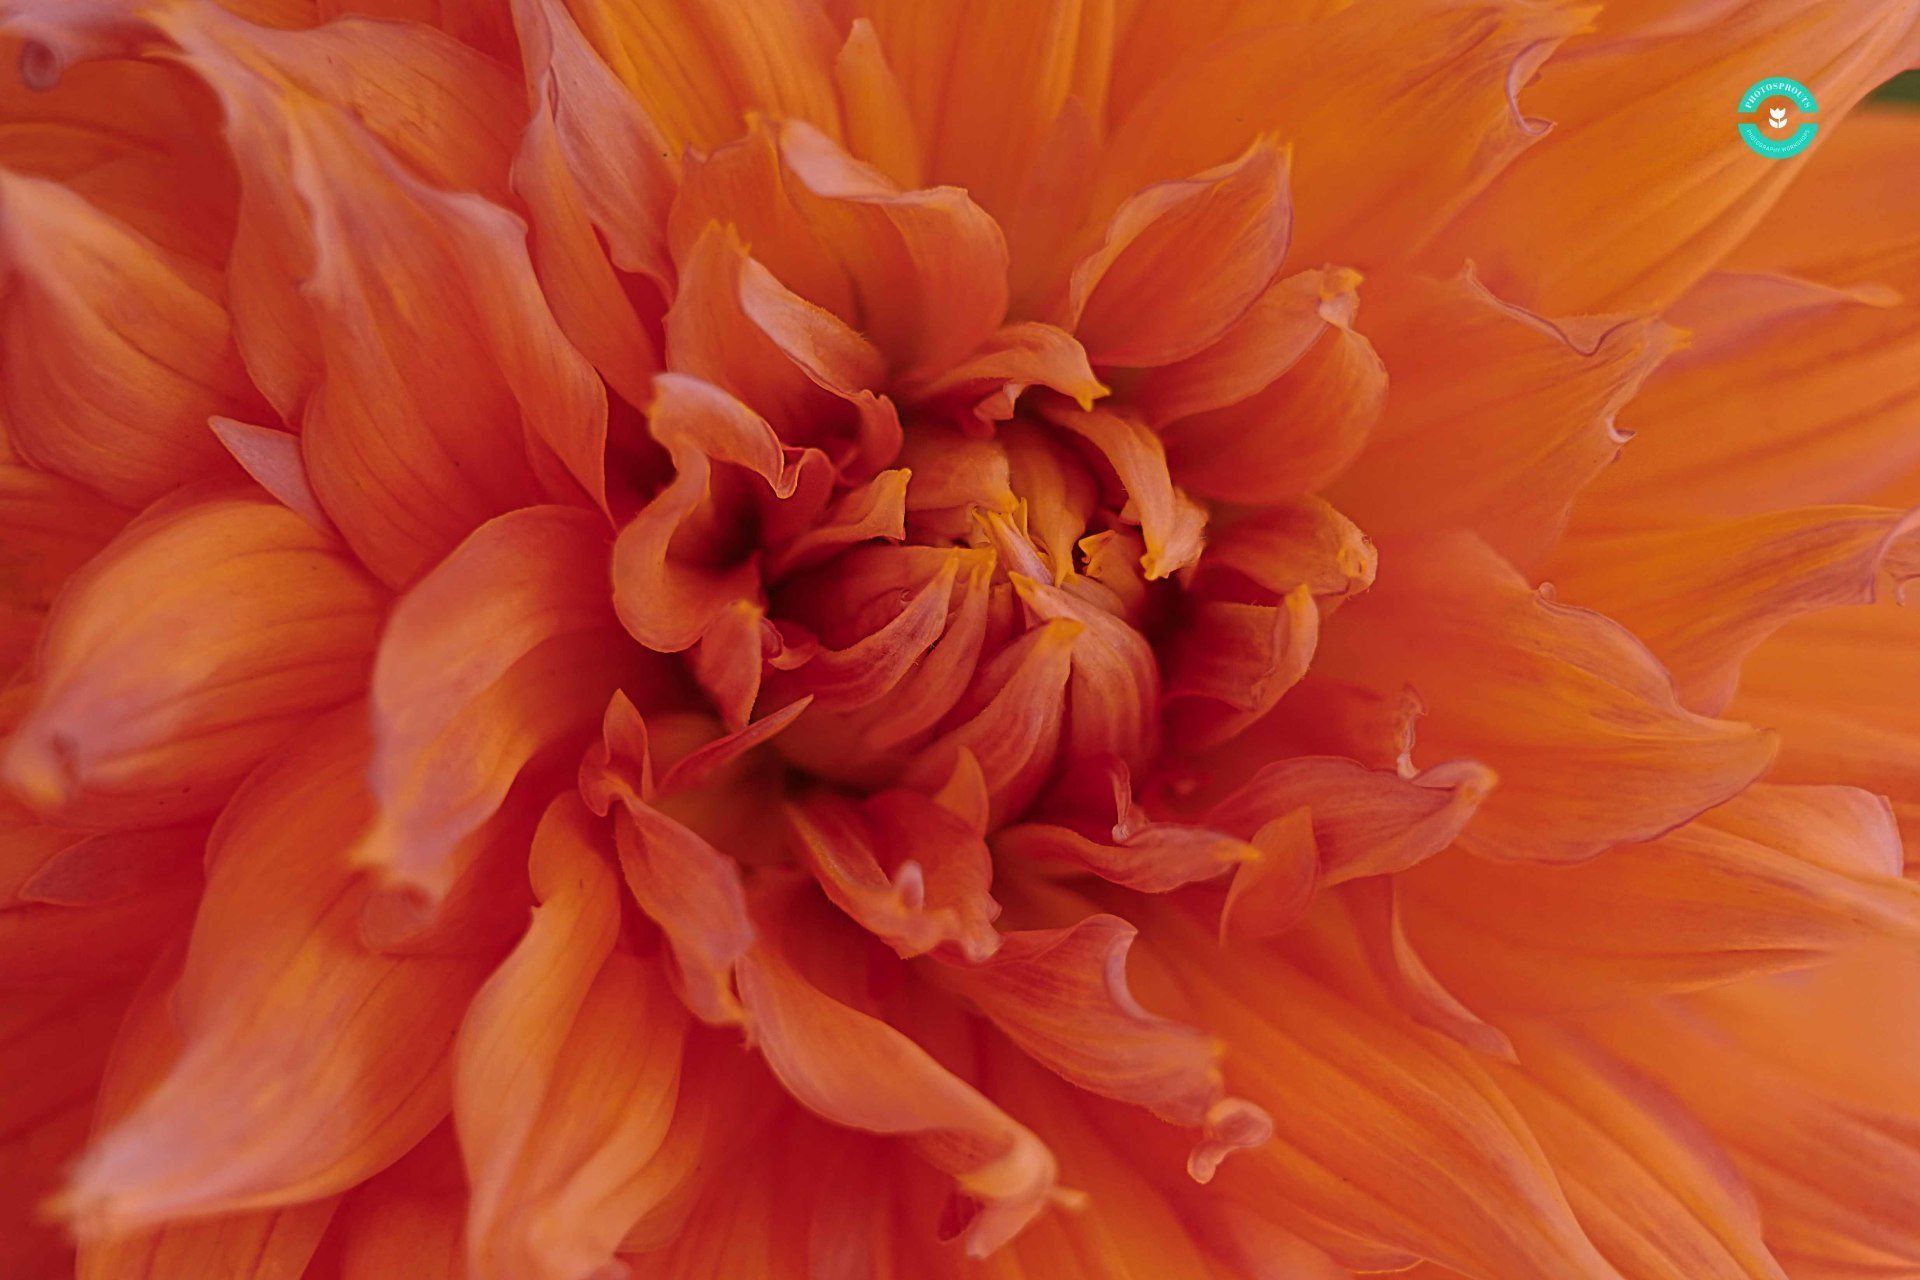
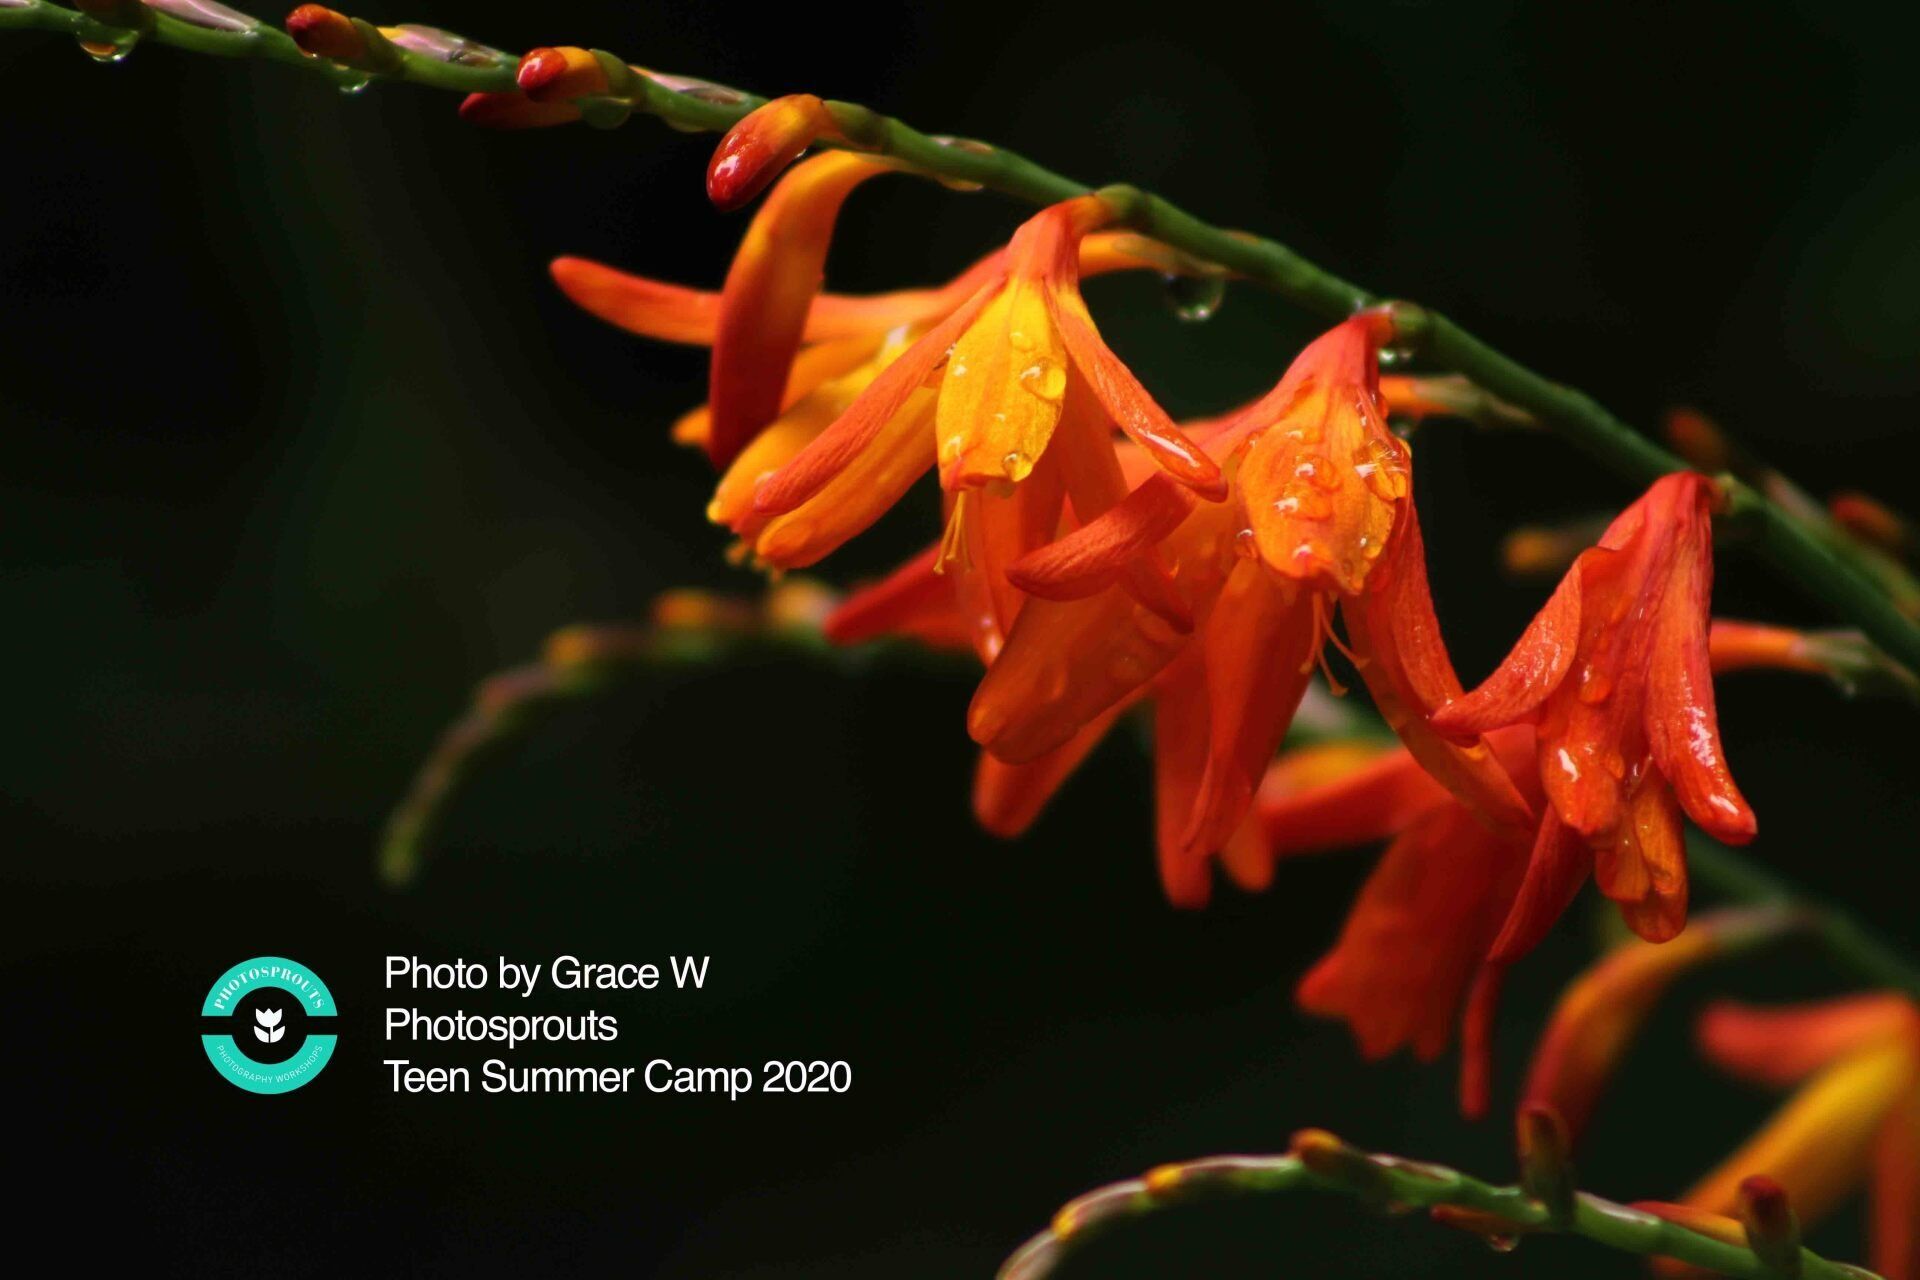
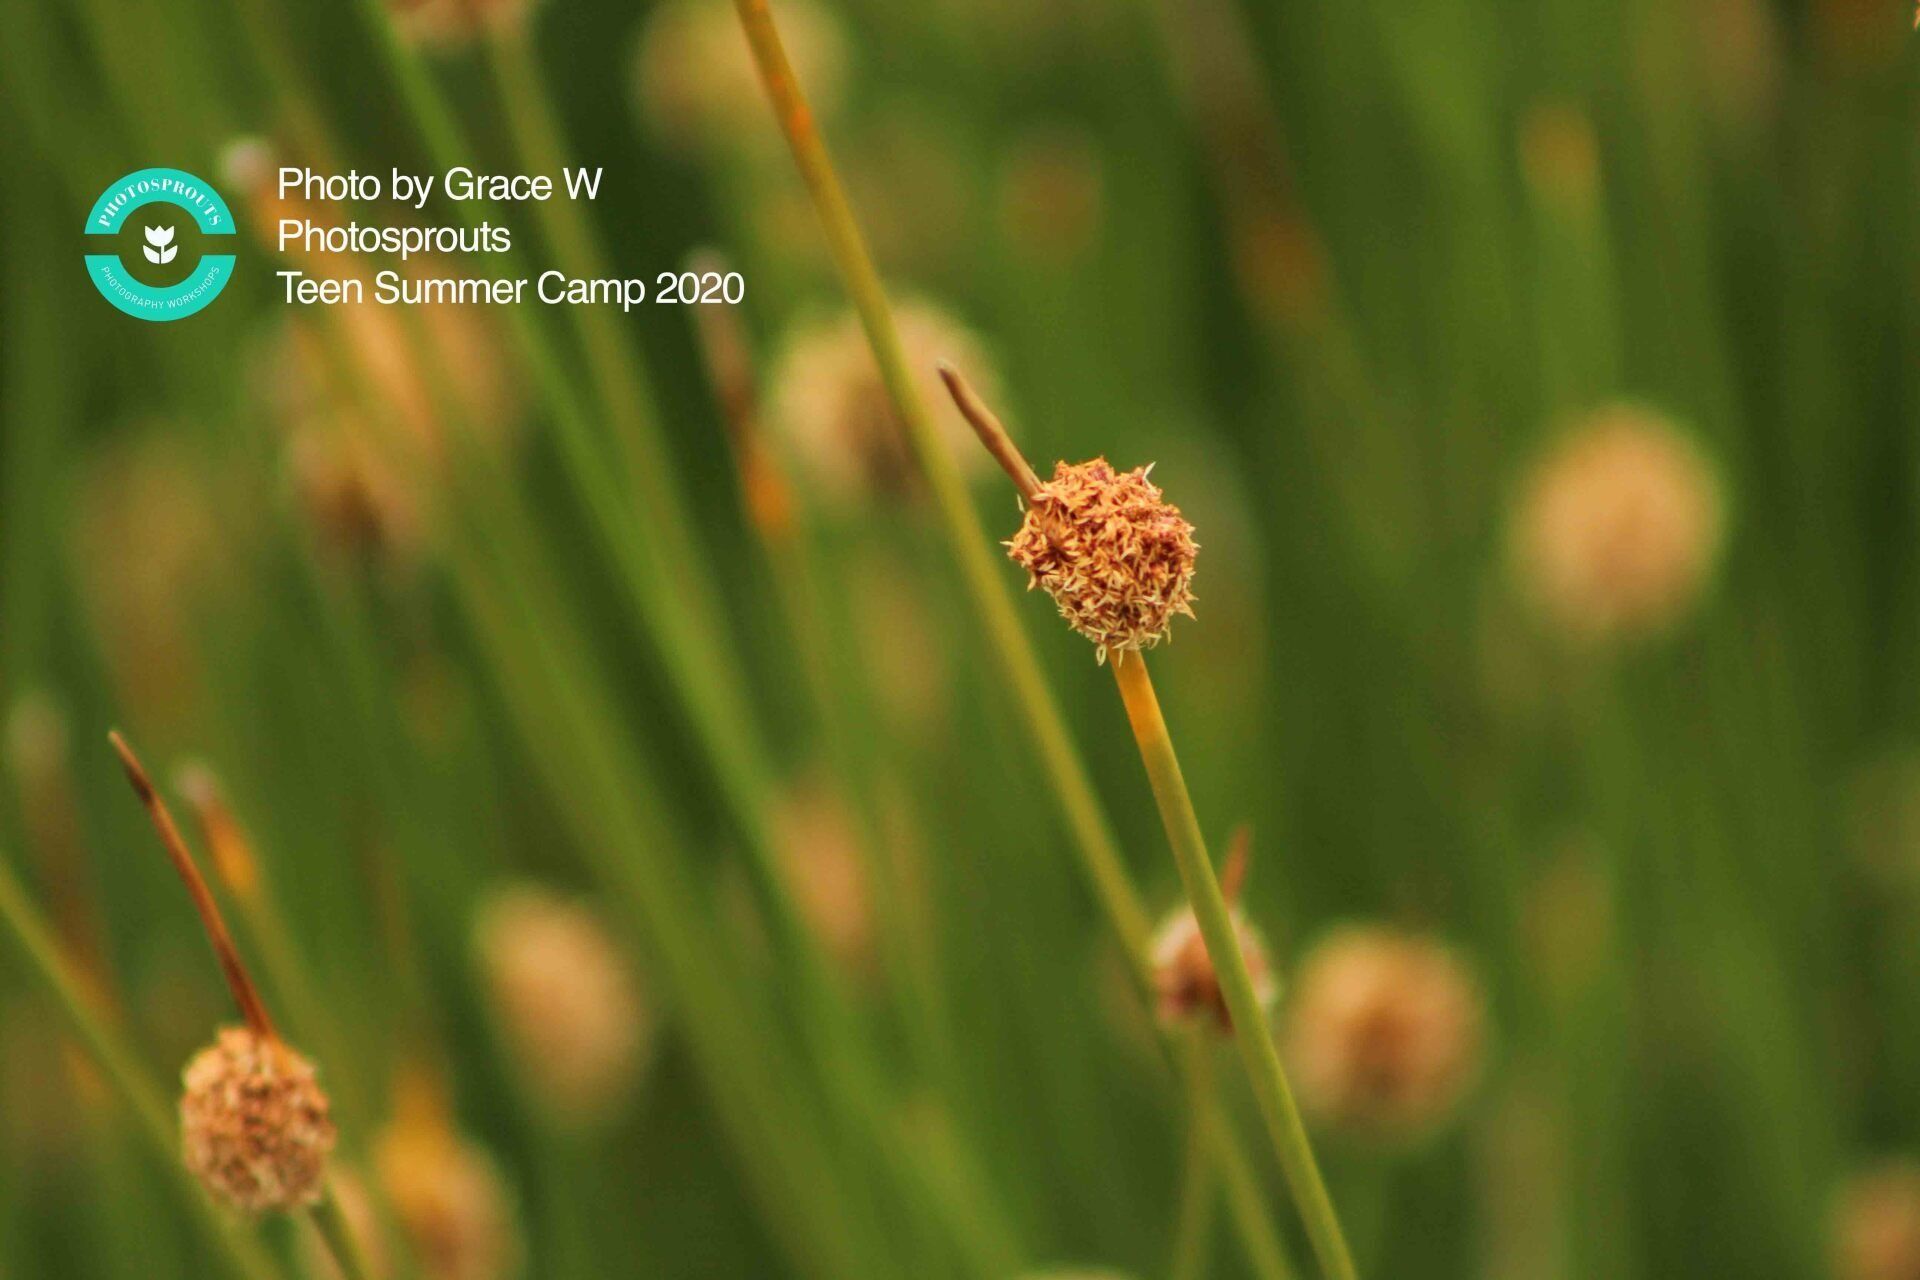
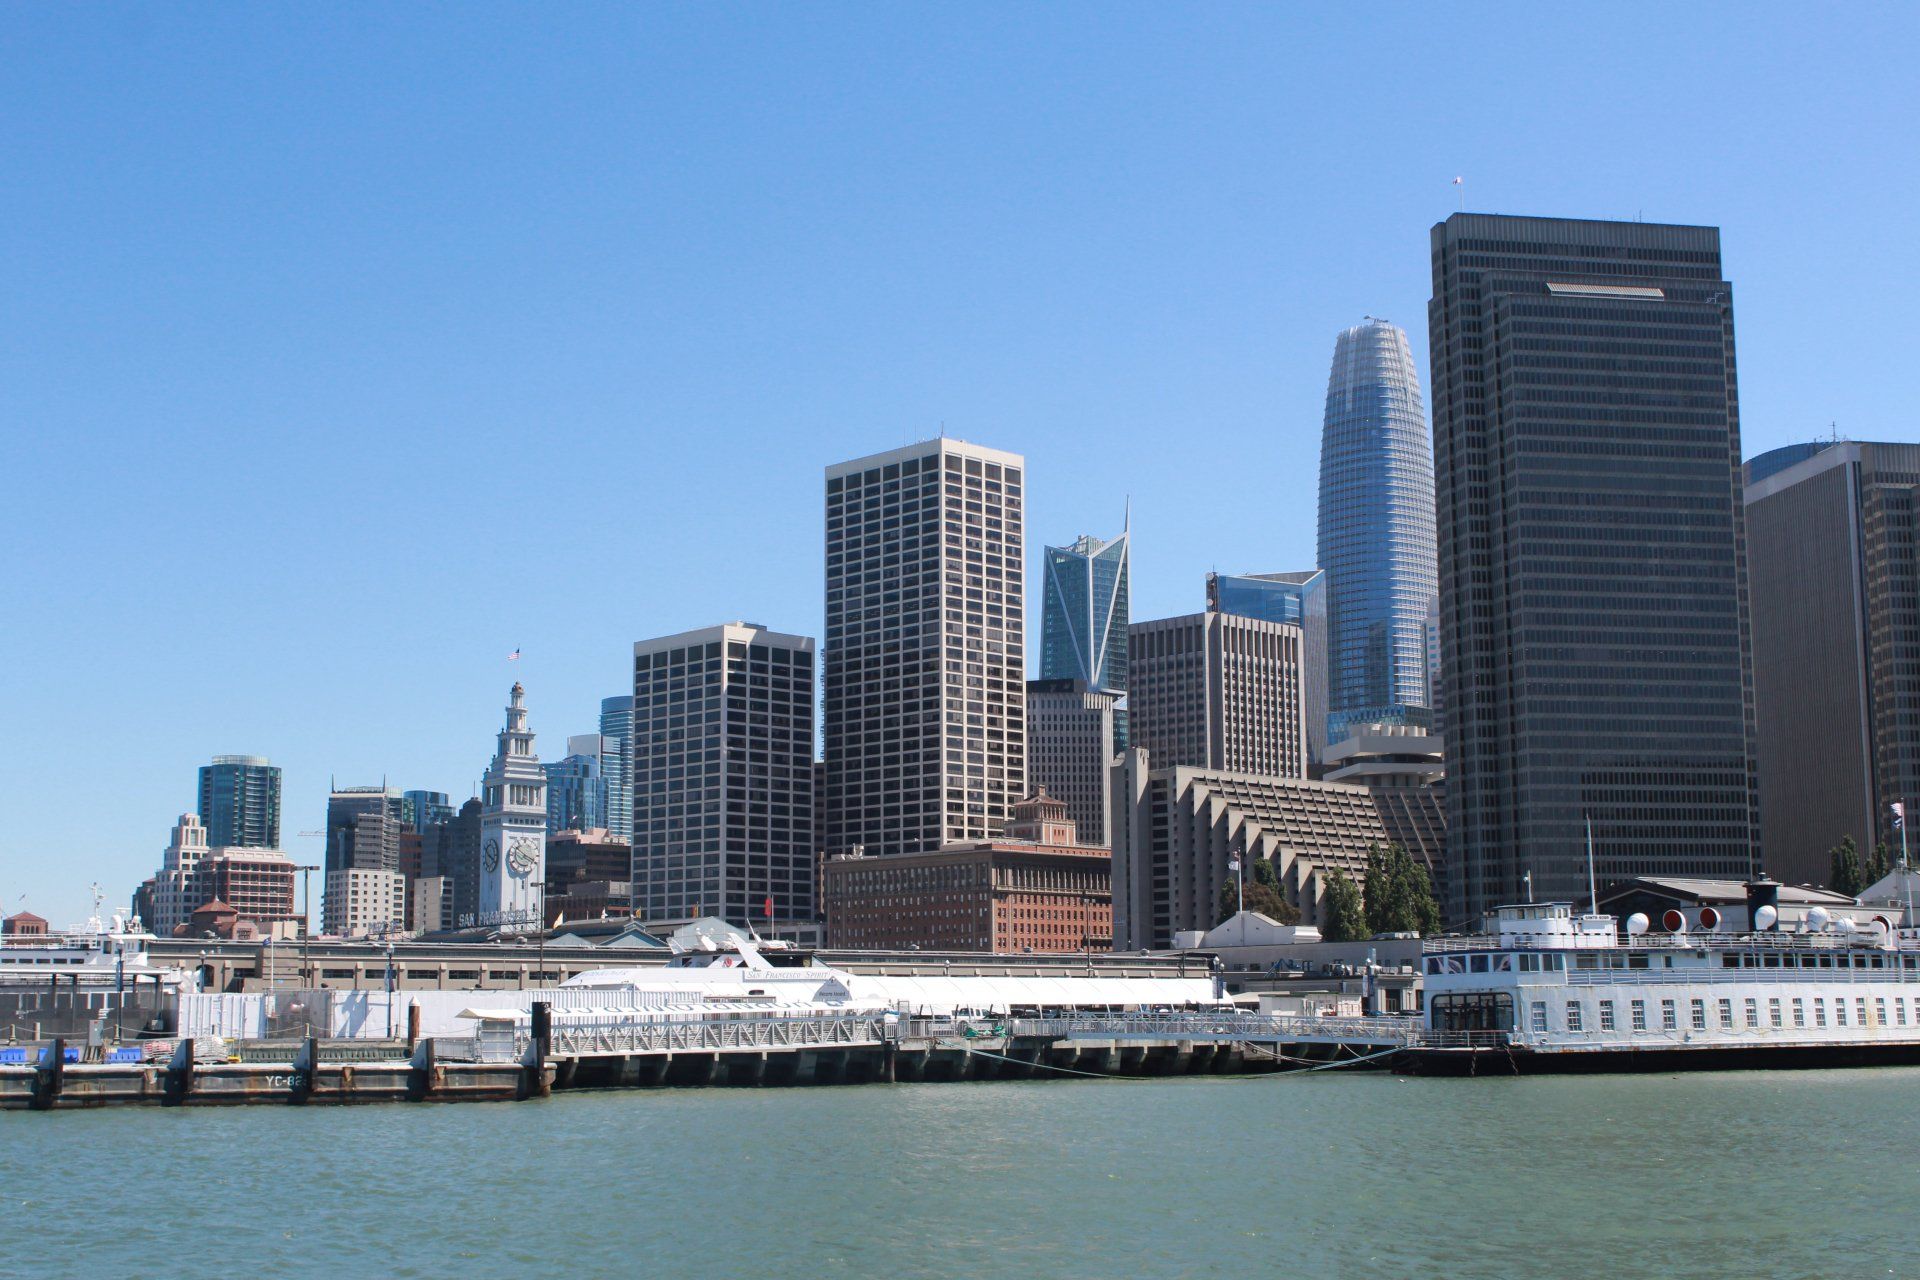
Grace was 12, one of the youngest photography students I’ve had and about two decades younger than the average Photosprouts student. Grace’s dad sent in some iPhone pictures that Grace had taken a few weeks before the course, and I was struck by her clean compositions with very original points of view. I could tell she showed great promise before I even met her. Almost every day that week, we went on field trips around the city. From Salesforce Park, just a block from our offices, to the Palace of Fine Arts, the San Francisco Zoo and the Botanical Garden. While she took great pictures wherever we went, I noticed she particularly excelled when there was not a specifically stated subject. Over the week, I started to notice a pattern of intense close-up shots sometimes on subjects that would look uninteresting to the untrained eye, like a leaf or a bench. During lunch one day, while discussing how photographers might develop specific personal styles over time, Grace chimed in. “Yeah, I think my style is so close up, you kinda don’t know what you’re looking at,” she said. I was impressed with how succinctly she was able to sum up her aesthetic, and we spent some of the remaining afternoon talking about abstract macro photography.


I can't wait to train more young photographers this summer!


#photosprouts

#teencamps

#teenphotographycamps

#teenphotographycourses

#photographyclasses
By David June 7, 2021
"Life isn’t meant to be lived perfectly…but merely to be LIVED. Boldly, wildly, beautifully, uncertainly, imperfectly, magically LIVED" ~Mandy Hale
By Juan Carlos May 30, 2021
Instructor Juan sharing his own experience of tea ching the class -- How we help students understand ISO
By Christina Szeto May 8, 2021
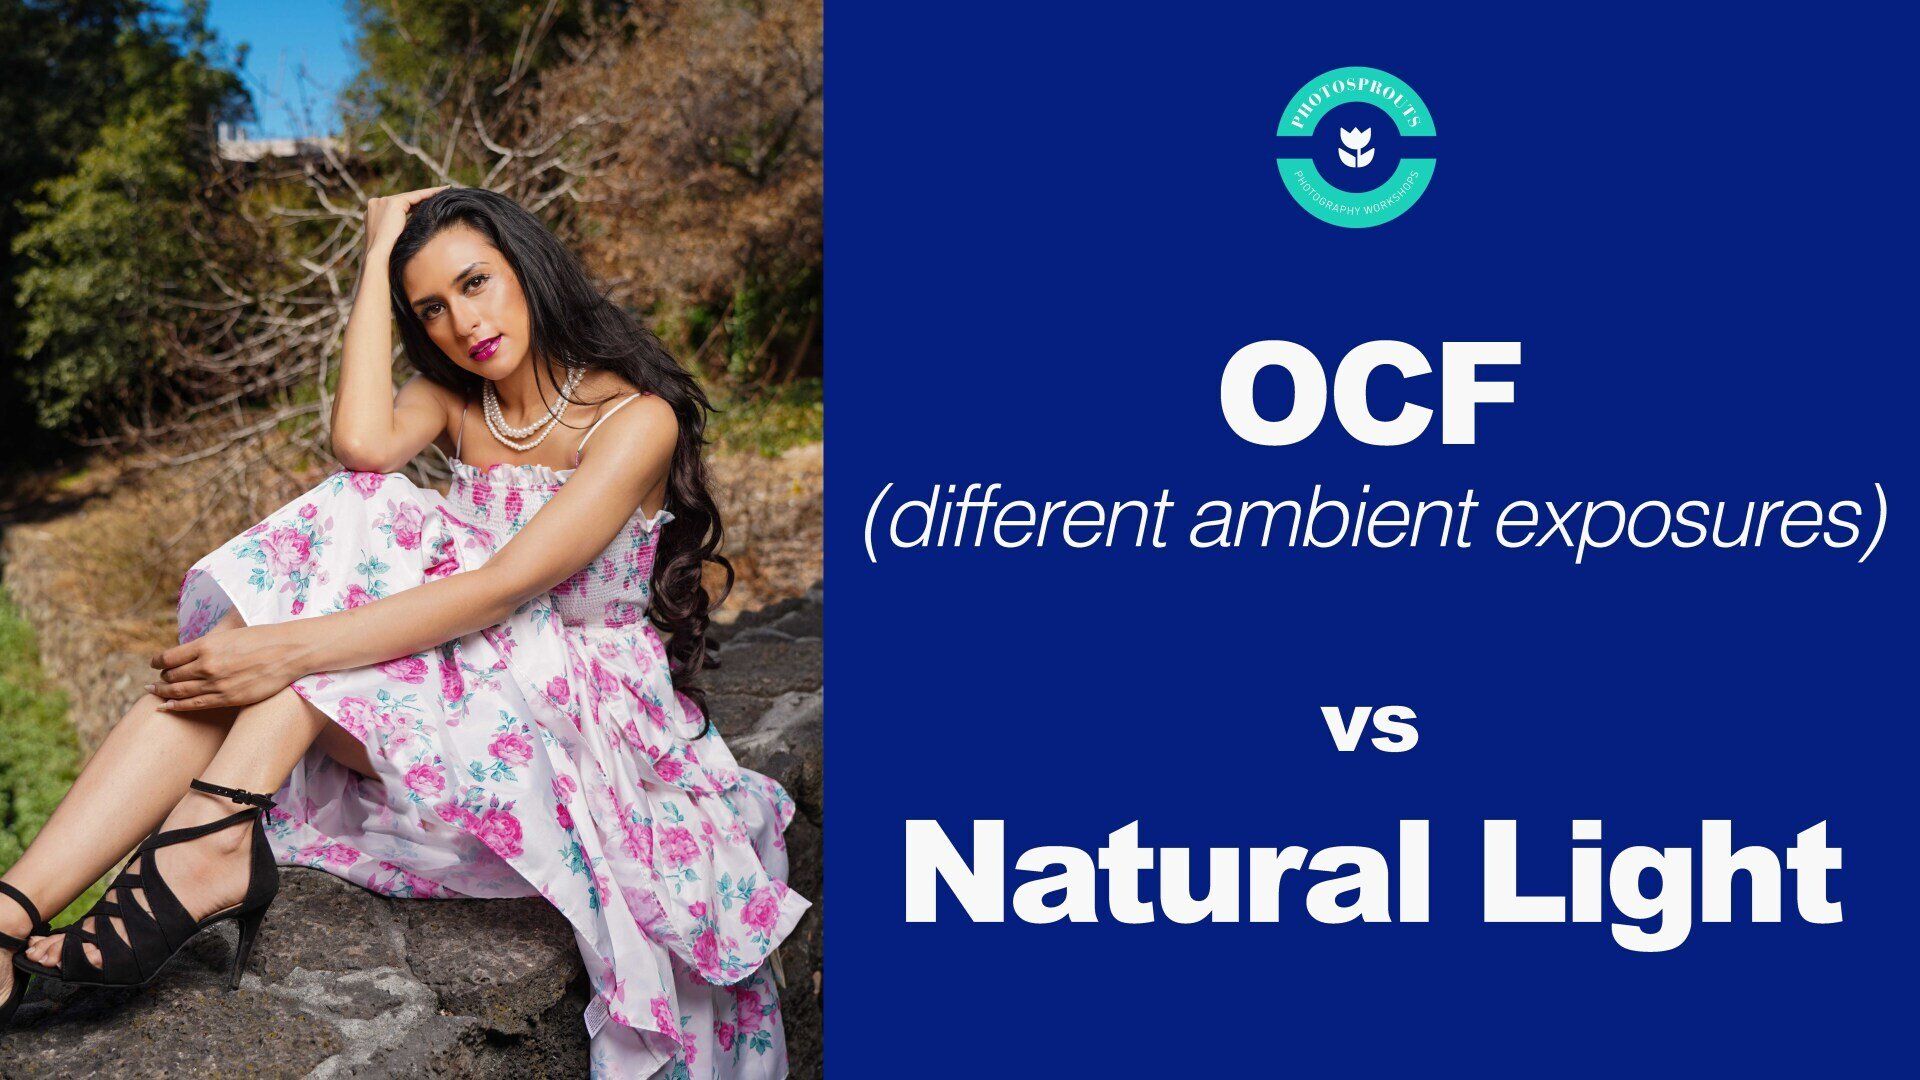
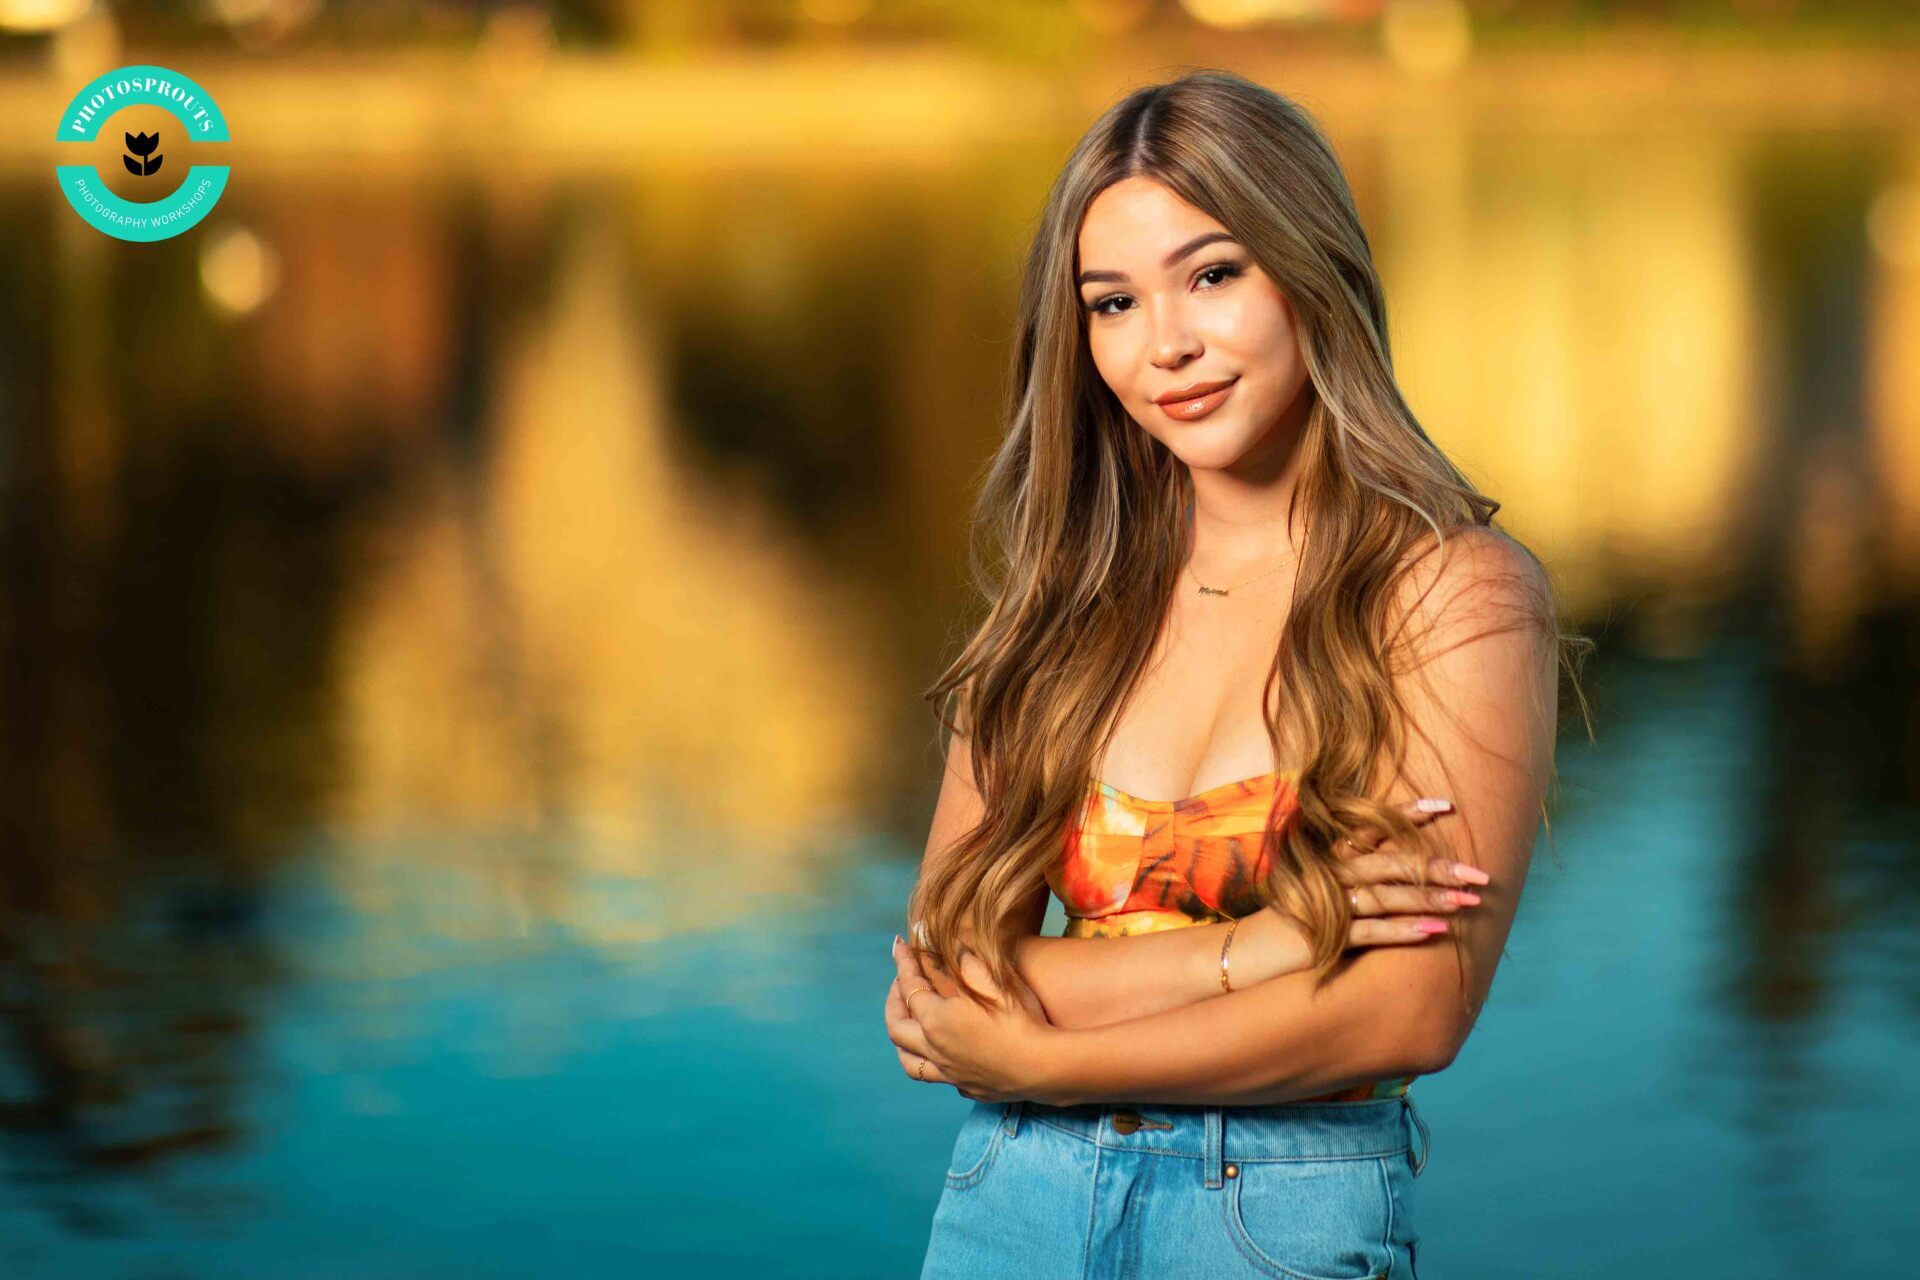
#photosprouts​ #photosproutsworkshops #ocf #portrait Portrait Photos at Lake Merritt: How to create dramatic portrait and balance the ambient and subject exposures? I hope my previous sharing on using off-camera flash & natural light was useful! I just finished this tutorial and behind the scenes as a quick recap on dramatic portrait and CTB & CTO gels (Part 2, next video). In this video: Main point: 1) Understanding the fact that there are two exposures when you use a flash: the ambient and the subject exposures. 2) The ambient exposure is controlled by the ISO, aperture and shutter speed. 3) The subject exposure is controlled by the power of the flash (and also other factors, not in this video). 4) How to pick a location for dramatic portrait? Find a background that looks nice when it is underexposed. E.g bright blue sky/ reflection on the water... *** Timeline: 1) Intro and the main points (0:00​) 2) Reasons to use a flash (1:16​) 3) The two exposures (1:55​) 4) The ideal location for shooting dramatic portrait (3:25​) 5) Location 1, one flash (3:46​) 6) Location 2, one and two flashes (5:22​) 7) What would happen if I forgot to carry a flash? (11:39​) 8) IMPORTANT! (13:40​) 9) What's next? Sunset portraiture using CTB and CTO gels (13:19​) *** Basics of Off-camera flash vs Natural light, Alejandra's Photoshoot (Photosprouts' most viewed video): https://www.youtube.com/watch?v=3vJZOTC7CdM&t=0s *** My equipment: -Camera: Canon 5D Mark iv -Lens: Canon 85mm F1.4 -Flash: Godox AD600 -Softbox: Glow Ez Lock 28" Deep Parabolic *Photosprouts Photography Workshops* | Instructor-led Workshops in San Francisco | Equipment provided | Browse Instructor-led Workshops: http://www.photosprouts.com​​ Christina Szeto Photography Exquisite Family Photography serving the San Francisco Bay Area http://www.christina-photo.com​​ *Social Media: http://www.instagram.com/photosprouts​​ http://www.facebook.com/photosprouts​
By Christina Szeto April 14, 2021
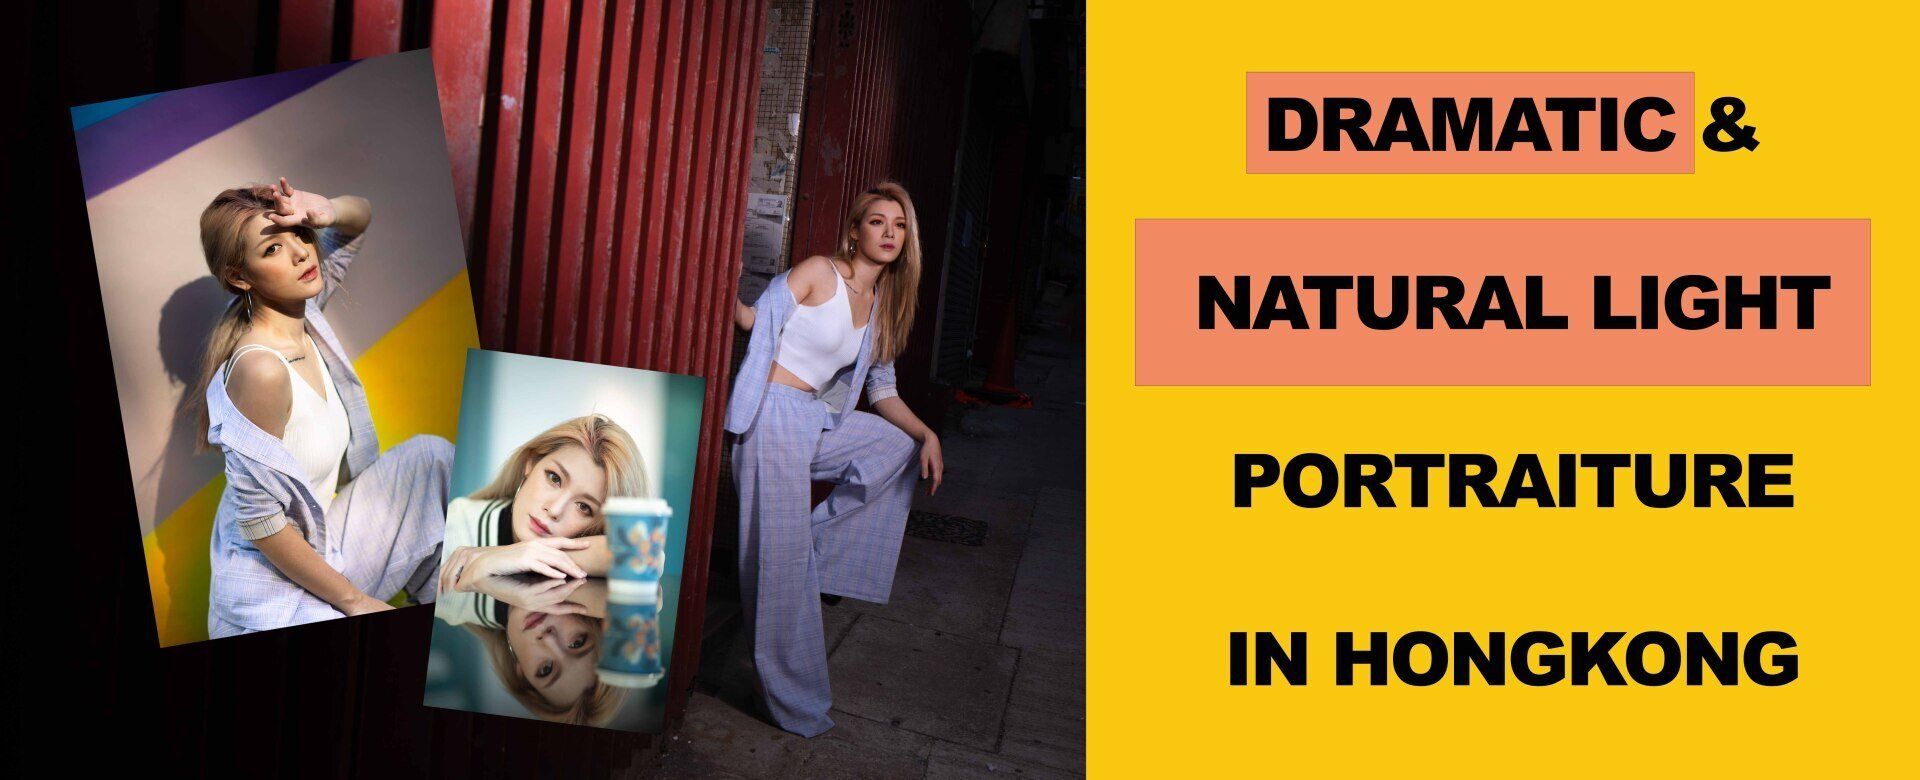
Hi everyone! I'm currently in Hongkong and just did a BTS of a portrait photoshoot. Location 1 (Some random streets in Central): -Dramatic portrait only -3 lights: 2 Godox AD200 with Maggrid, hitting the red gate; one Godox AD200 as the main light (in a large softbox) on the model -Why did I attach Maggrids? To make the light more focused; without the grid then the light will be spilling around -Ambient light exposure: underexposed, settings: -Canon 16-35mm F4 (at 35mm); -ISO 100, 1/320s, F4 Flash exposure: -Gates: 1/16 -Model: 1/2 Location 2 (PMQ) -Natural light only -Challenge: there were fluorescent lamps on the roof and they couldn't be turned off. These lamps (3500K) interfered with the white balance of the natural light (~5200K) -We wanted to pure natural light and this was the solution: we pulled Daisy as close to the natural light and away from the fluorescent lamps as possible (it was hard!) -Learn to use the location to your advantage: look for reflective surfaces Location 3 (murals in Central) -Natural light only Equipment -Camera: Canon 5D Mark iv -Lenses: Canon 85mm F1.4 and 16-35mm F4 -Flash: Godox AD200 x 3 -Softbox: Not sure, borrowed from John *Photosprouts Photography Workshops* | Instructor-led Workshops in San Francisco Browse Instructor-led Workshops (Beginners, Portrait, Landscape, Street, Food, Editing and more): http://www.photosprouts.com​ *Social Media: http://www.instagram.com/photosprouts​ http://www.facebook.com/photosprouts​ *Online Workshops: Beginner 101 For Photography Newbies: https://photosproutsbeginner101.thinkific.com/courses/beginner-101-photography-workshop-online The Joy of Flower Photography: https://photosproutsbeginner101.thinkific.com/courses/flower Color Grading: https://photosproutsbeginner101.thinkific.com/courses/color-grading
By Christina Szeto January 22, 2021
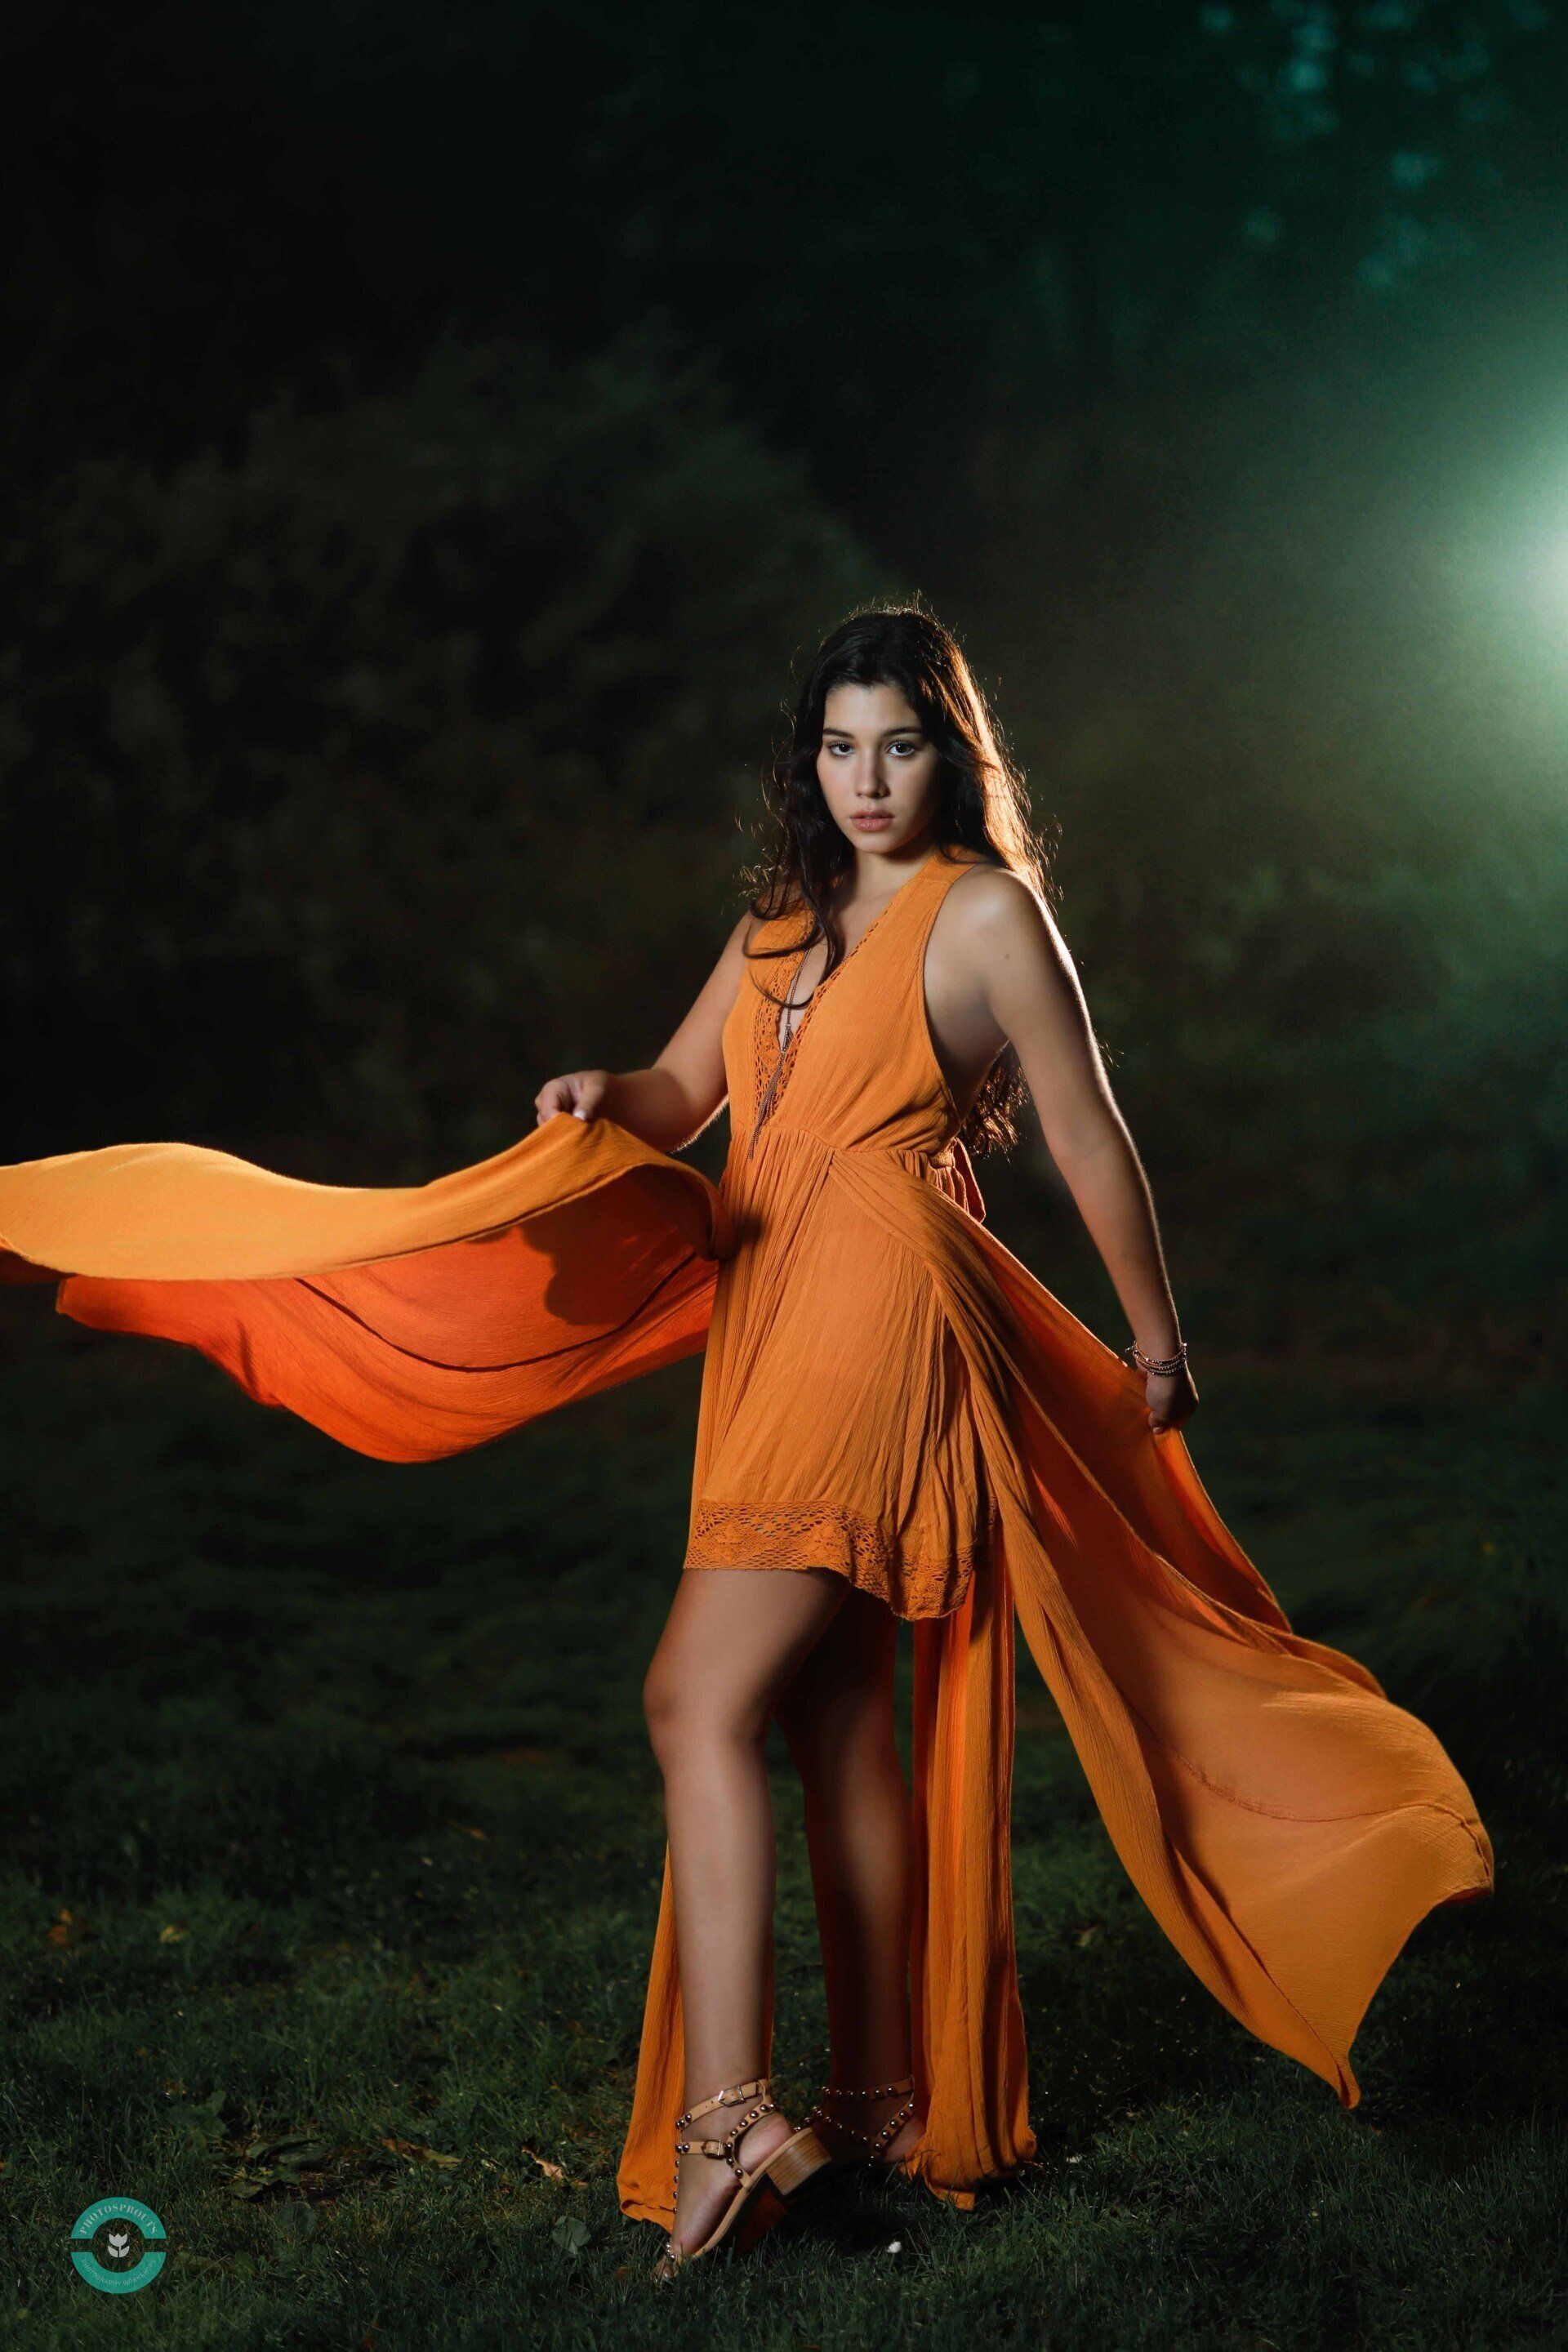
Outline: 1) Check out the back of my camera: Learn to balance the ambient and the flash exposure (1:14) a) Ambient/ background exposure: How to determine? b) What would happen if I didn’t use a flash? c) Flash/ subject exposure: How to determine? d) Be brave to fix anything that doesn't seem right. 2) Natural Light (4:50) a) Find an open shade b) Look for any hair light in an open shade *You have to look for the hair light within an open shade; even if you see hair light but the subject is not in an open shade, it won’t work because the background could have been washed out. 3) Flash as soft fill light (5:33) a) I kept the same ambient exposure just like when I was shooting in the natural light. b) Then I turned on the flash; when a flash is used as a fill light, the power is generally low, say 1/32 or 1/64. c) The main light is still the natural light; the flash is just there to softly fill any shadow. When the shadow on the subject’s face has been filled, she will look brighter (but not overly bright). d) Remember, Main light = the boss, Fill light = an intern. 4) Flash as the main light (7:03) a) I switched off the flash and just focused on the ambient light; I underexposed the ambient. b) To manipulate the ambient exposure, simply change the camera’s shutter speed. The faster the shutter speed, the dark the ambient and vice versa. c) Do not manipulate the ambient exposure by changing the ISO and the aperture because they will also affect the flash exposure. d) Turn on the flash and adjust the power until the subject is properly exposed. e) I then tried to further underexpose the ambient light by increasing the shutter speed. Since the flash was on HSS (high speed sync), increasing the shutter speed also means that the flash exposure is lowered. Therefore, I had to raise the flash power to compensate for the increase in shutter speed. f) The flash power is usually higher in dramatic portrait, say 1/1 (full power) or 1/2. e) The natural light became the fill light when it was overpowered by the flash, which was promoted to the role of the main light (and became the boss). *** My equipment: -Camera: Canon 5D Mark iv; Sony a7iii -Lens: Canon 85mm F1.4; Sony 24-105mm F4 -Flash: Godox AD600 -Softbox: Glow Ez Lock 36" Octabox *Photosprouts Photography Workshops* | Instructor-led Workshops in San Francisco | Equipment provided | Browse Instructor-led Workshops: http://www.photosprouts.com *Social Media: http://www.instagram.com/photosprouts http://www.facebook.com/photosprouts *Aakriti’s Instagram: https://www.instagram.com/aakriti.sachdev/ *Online Workshops: Color grading: http://www.photosprouts.com/colorgrading Beginner 101 For Photography Newbies: https://www.photosprouts.com/beginner101online The Joy of Flower Photography: http://www.photosprouts.com/flower Christina Szeto Photography Exquisite Family Photography serving the San Francisco Bay Area www.christina-photo.com
By Christina Szeto December 25, 2020
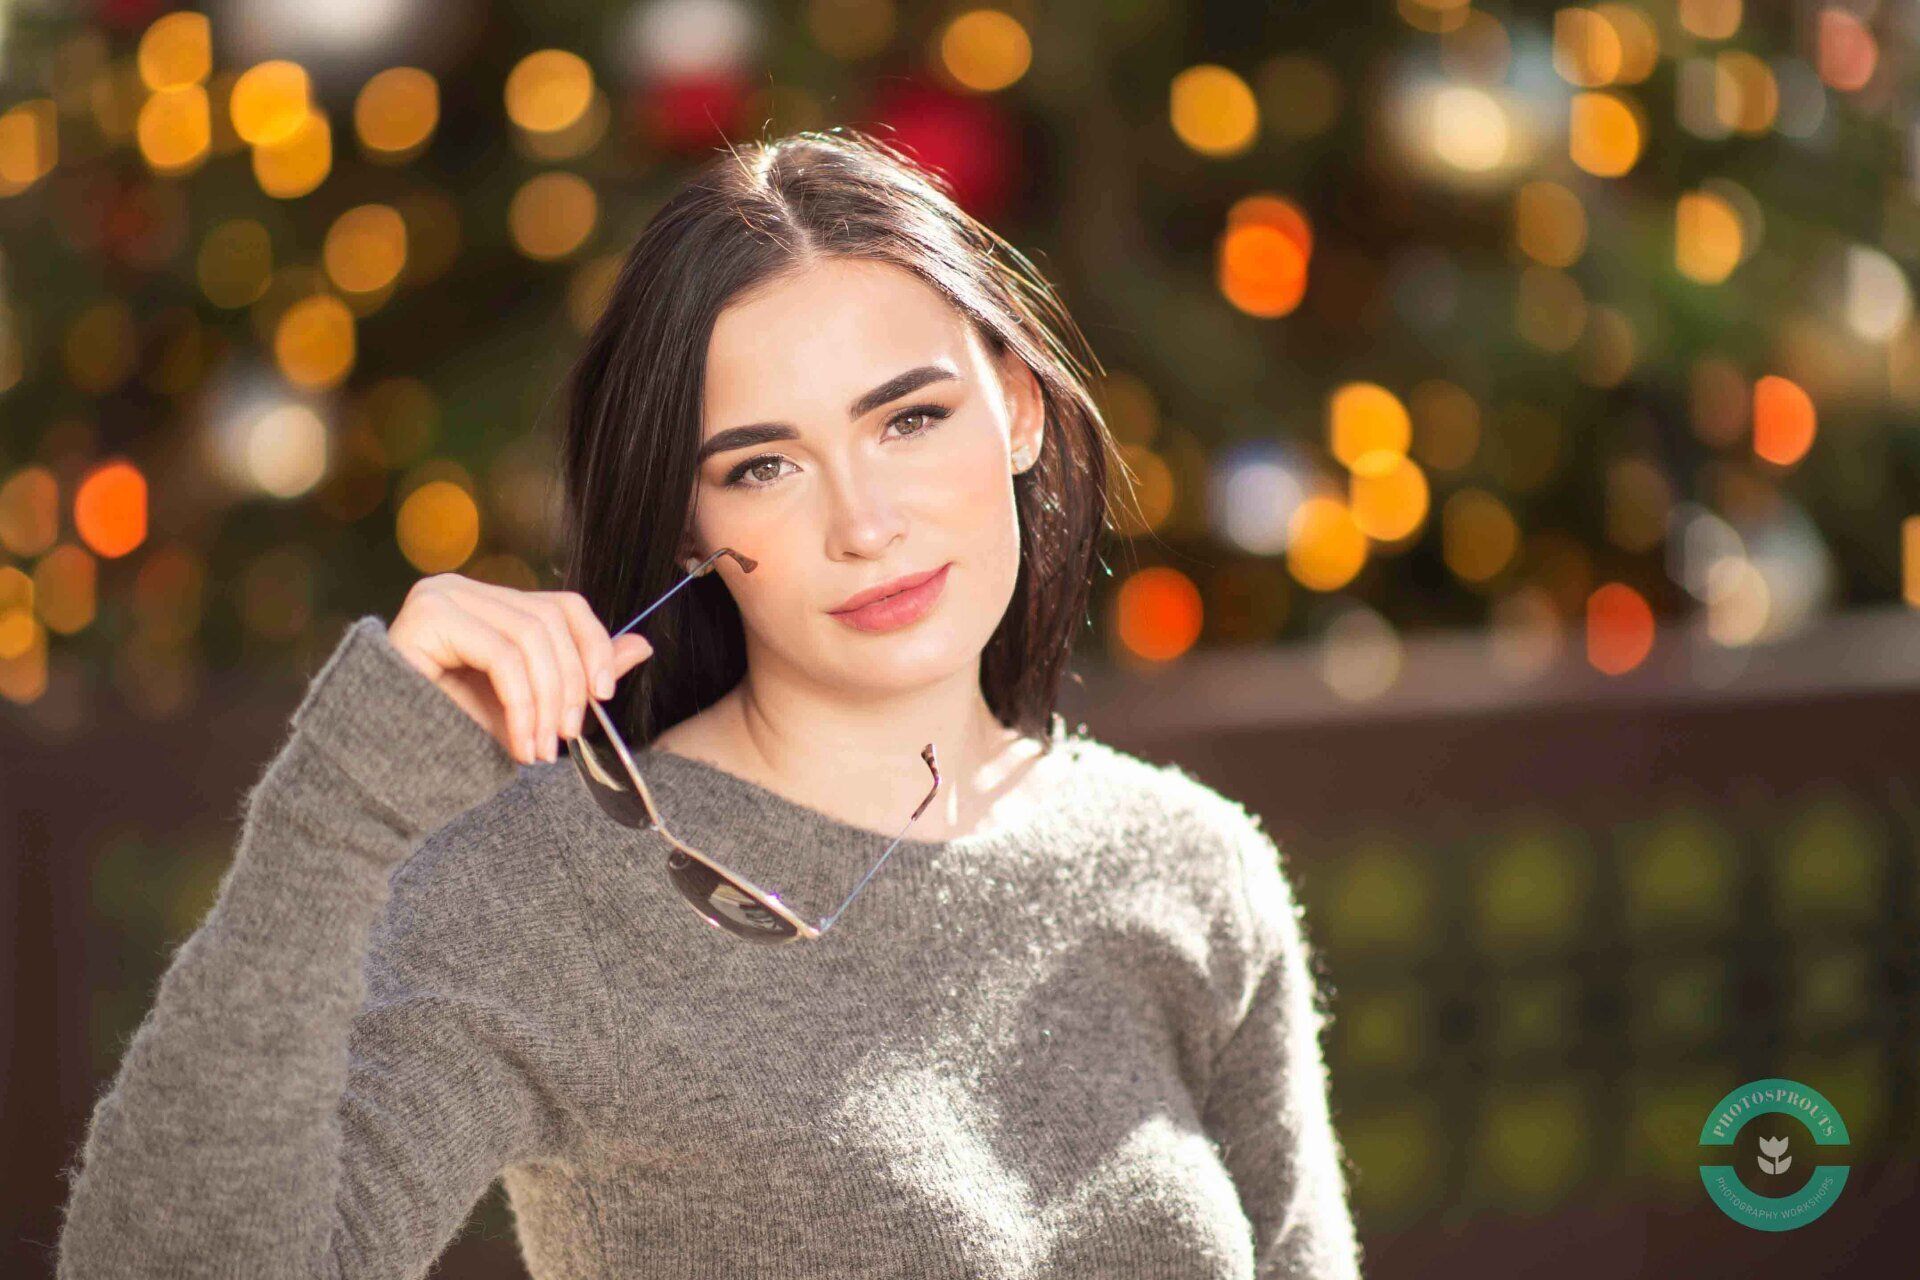
7 Tips of Shooting Portrait on a Busy Street/ in a Mall Merry Christmas everyone! I just took some pictures of Anastasia in a busy shopping mall. I tried to use the location to my advantage and got 7 tips to share: The 7 Tips 1) Use a flash (00:24) -Purpose: to balance the background and the subject exposure -Main benefit: having a flash allows you to shoot in many different locations, including a bright iconic background. If you don't have a flash, try to look for an open shade. *Using a flash might be forbidden or rather inconvenient in certain locations, so please check the rules first. -Recommended course: Photosprouts' Portrait Lighting & Posing I Workshop (http://www.photosprouts.com/portrait101) 2) Look for little light bulbs in the background (01:43) -Purpose: to create shallow depth of field -Where? Storefronts/ Christmas Tree Lights -How? a) widen the aperture b) use telephoto focal length (e.g 85mm lenses; 70-200mm lenses) c) bring the subject away from the background -Recommended course: Photosprouts' Intermediate I Workshop (http://www.photosprouts.com/beginner102) 3) Look for large glass windows (03:25) -Purpose: to create reflections -How? a) bring the camera as close to the glass as possible -Recommended course: 1. Photosprouts' Street Photography Workshop (http://www.photosprouts.com/streetphotography) 2. Photosprouts' Color Grading Class (Online only) (http://www.photosprouts.com/colorgrading) 4) Use slow shutter speeds (04:30) -Purpose: to tell a story by motion-blurring people's movement -How? a) The ambient: Determine the shutter speed first (e.g) 1/10s, use small aperture (e.g F22), and set low ISO, try to shoot in the shade so that the photo will not be overexposed with the above settings b) The flash (a must if there's no tripod): Normally has to be in full power as the aperture is small (yes, bump up the flash power whenever you use HHS OR small apertures). -Recommended course: Photosprouts' Intermediate II Workshop (http://www.photosprouts.com/beginner102) 5) Look for benches (06:26) -Purpose: to create repeated patterns/ foreground -I also had two versions of ambient exposures in this example -Recommended course: Photosprouts' Street Photography Workshop (http://www.photosprouts.com/streetphotography) 6) Look for architectures (07:57) -Purpose: to create geometrical shapes -How? a) Use a wide angle lens (e.g 16-35mm) b) Shoot from a low angle and make the subject appear tall c) Posing tip: the subject should lean slight towards the camera -The secret of shooting better portraits: a) Shoot different types of photography to train the eye, not just portraitures. -Recommended course: Photosprouts' Long Exposure Landscape Workshop (http://www.photosprouts.com/landscape) 7) Bring both wide and telephoto lenses (09:28) -Purpose: to use tips #1-6 -Recommended course: Photosprouts' Intermediate I Workshop (http://www.photosprouts.com/beginner102) *** My equipment: -Camera: Canon 5D Mark iv -Lenses: Canon 85mm F1.4 & Canon 16-35mm F4 -Flash: Godox AD600 -Softbox: Glow Ez Lock 36" Octabox *Photosprouts Photography Workshops* | Instructor-led Workshops in San Francisco | Equipment provided | Browse Instructor-led Workshops: http://www.photosprouts.com Upcoming Workshop: The Golden Gate Bridge Long Exposure, Jan 3rd 2021 Sign up at http://www.photosprouts.com/landscape *Social Media: http://www.instagram.com/photosprouts http://www.facebook.com/photosprouts *Ana's Instagram: http://www.instagram.com/babyaanaa_ *Online Workshops: Color grading: http://www.photosprouts.com/colorgrading Beginner 101 For Photography Newbies: http://www.photosprouts.com/beginner101online The Joy of Flower Photography: http://www.photosprouts.com/flower
By Christina Szeto December 15, 2020
4 Portrait Lighting Strategies that I use in an Overcast Day. My previous tutorials were all shot in sunny days. I hope you enjoyed watching how I used a flash to balance the ambient and the subject exposures! Using a flash for different goals in a sunny day, check out my previous tutorial: Natural Light vs Off-camera Flash: https://www.youtube.com/watch?v=3vJZO... In an overcast day, the concept is similar. However, unlike sunny days, the background and the subject usually have the same ambient exposure because the natural light quality is even and soft. This means when I expose for the subject, the background is also properly exposed. Being aware of this fact is very important when you shoot portrait in an overcast day. The 4 Strategies: 1) Natural Light (00:28) -The subject and the background normally have the same ambient exposure in an overcast day, this means when I expose for the subject, the background can also be properly exposed. -However, in a sunny day, the subject and the background do not have the same ambient exposure, that's why a flash is needed to balance the ambient and the subject exposures. Alternatively, look for an open shade. -Always ask yourself: where is the light direction, intensity and quality (soft vs hard)? -3 light patterns created when the light is coming from one side: Split, broad and short lighting. Rembrandt is usually seen in a sunny day. -Split lighting: half of the subject face is lit, and the other half is in the shadow -Broad lighting: the broad side of the face is lit (the broad side = the side of the face that is close to the camera); great for someone with a slim face, not good for someone with a fat/ round/ big face. -Short lighting: the short side of the face is lit (the short side = the side of the face that is farthest from the camera), great for most face feature (that's how I make a round face look smaller!) 2. Flash: as fill light (2:43) -As usual, I expose for the ambient light before turning on the flash. -Since the background and the subject have the same ambient exposure, the subject is also properly lit when I expose for the background. Adding a flash might be throwing too much light on the subject, but it is a good way to create bigger catchlight in the eyes. 3a. Flash: as the hair light. Example 1 (4:20) -There were two flashes, one in the front as the fill, and another one at the back as the hair light. I also wanted to mimic the golden hour so I attach a full CTO gel on the back flash. -In order to make the golden hour realistic, the backlight has to be far away from the subject and also hit the background. It took me two trials to place the backlight correctly. 3b. Flash: as the hair light. Example 2 (5:42) -There was one flash, and it was the back light (the hair light). This flash illuminated the subject's hair and separated her from the same-color background 4. Flash: as the main light (7:05) -In an overcast day, I also love to underexpose the ambient exposure by 2-3 stops to create dramatic portraits, just like what I did in the sunny days. -The background will be all dark when I underexpose the ambient by 2-3 stops in an overcast day, so it is a great idea to have your subject wear a bright-colored outfit. Summary: There is no right or wrong in what strategy you use, it is just a matter of personal taste and photography style. Using a flash as the main light does create more visual interest because the photo is not what a human eye normally sees. *** My equipment -Camera: Canon 5D Mark iv -Lenses: Canon 85mm F1.4 -Flash: 2 Godox AD200s -Softbox: Glow Ez Lock 36" Octabox, Magsphere *Reason to choose AD200 over AD600: in an overcast day, the shutter speed does not have to go crazy high to largely underexpose the ambient light, so this won't drain up the flash power as it will be in a sunny day. *Photosprouts Photography Workshops* | Instructor-led Workshops in San Francisco | Equipment provided | Browse Instructor-led Workshops: http://www.photosprouts.com Upcoming Workshop: The Golden Gate Bridge Long Exposure, Jan 3rd 2021 Sign up at http://www.photosprouts.com/landscape *Social Media: http://www.instagram.com/photosprouts http://www.facebook.com/photosprouts *Sienna's Instagram: http://www.instagram.com/sienna_sophi... *Online Workshops: Color grading: http://www.photosprouts.com/colorgrading Beginner 101 For Photography Newbies: http://www.photosprouts.com/beginner1... The Joy of Flower Photography: http://www.photosprouts.com/flower
By Christina Szeto November 7, 2020
Shooting in harsh sunlight and no shade: Flash vs No Flash (Part A)? The purpose of this video is to show you one solution of dealing with in harsh light condition (mid afternoon, no shade): using a strong flash and underexposing the ambient. This footage of the first part of the photoshoot. The second part will be available in a few days. Main Points: Introduction (00-00:43): -Common solutions for dealing with harsh sunlight: using a diffuser to “cut off” the hard light on the subject (not in this video) and using a flash. -Having a flash in my camera bag gives me peace of mind 2. The model was facing the sun: One flash scenario (00:44) -Posing the model to get “Loop Lighting -Overpowering the sun with a flash (in full power) -Using wide angle lens and shooting at a low angle allows you to lengthen the subject’s legs *You can see different light patterns as the model moves: Loop, Rembrandt, Split and etc. This time I was going for the Loop Lighting. 3. The model was turning away from the sun: Natural light only scenario (3:22) -The challenge for shooting in natural light only: as there’s just one exposure (the ambient), the subject will be underexposed if I expose for the background. If I expose for the subject then the background will be overexposed. I have to compromise between those two exposures. -In backlit conditions, your lens might find it hard to focus and the photos can also look hazy. -Solution: use a small diffuser if the lens hood is not big enough to block the flares. You can cover the flare with your hands as well. 4. The model was turning away from the sun: One flash scenario (4:43) -Adding a flash to overpower the sun. -Expose for the ambient before turning on the flash -I wanted to keep the same ambient exposure so I didn’t change my camera settings. -Then I decided to underexpose the ambient by increasing the shutter speed. The flash power was raised to compensate for the change. -The flash exposure is normally not affected by the shutter speed, unless the flash is on high speed sync. 5. Sitting down pose: Natural light only scenario (6:53) -Find something for your model/ client to sit on (say a log or something), so that you can naturally shoot for a higher angle to flatter the shape of the face. -As I exposed for the subject, the background was bright but still acceptable. This is because the photoshoot happened in the mid afternoon; if it happened earlier then the background will be washed out. 6. Sitting down pose: One flash scenario (7:51) -Learning how to color grade the image makes a huge difference! 7. The main benefit of using a flash (8:37) -Allowing you to shoot anywhere, including full sun -Balancing the subject and background exposures -There's also nothing wrong if one prefers to use just the natural light, it is a matter of the photography style. 8. What we will be doing in Part B of this photoshoot (8:52) My equipment -Camera: Canon 5D Mark iv -Lenses: Canon 85mm F1.4 and Canon 16-35mm F4 -Flash: Godox AD600 -Softbox: Glow Ez Octabox (36”) *Photosprouts Photography Workshops* | Instructor-led Workshops in San Francisco | Equipment provided | Browse Instructor-led Workshops (Beginners, Portrait, Landscape, Street, Food, Editing and more): http://www.photosprouts.com *Social Media: http://www.instagram.com/photosprouts http://www.facebook.com/photosprouts *Lexi's Instagram: http://www.instagram.com/lexilloyd
By Christina Szeto October 23, 2020
This video is the 2nd part of Alejandra’s photoshoot, in which we shot in the late afternoon and the golden hour using the natural light and a flash. The "main course" of this tutorial is shooting golden hour portraiture, but since late afternoon is also a perfect time for creating light & airy photos so I’ve decided to shoot a few as the "appetizer". There is no rule in saying you must use a flash or just the natural light, but it has everything to do with your photography style. Mastering lighting skill will give you so much freedom, and you will no longer be constrained by the weather, location and time. Main Points: Intro (0:00-1:30) -The purpose of this photoshoot and what I’m going to do -What I did in the first part of this photoshoot (https://www.youtube.com/watch?v=3vJZO...) 1. Light & Airy Style Portraits in Natural Light (1:30) -This type of photography style is very location and color sensitive. -Location and light: open shade with a light colored (muted/ neutral color) background -Outfit color example: pink (or other light colored outfits such as grey, peach and light blue) -Aperture: wide-open (use prime lenses, e.g 85mm F1.4, 50mm F1.2) -Try to get everything correct at the scene, instead of doing too much post-processing -What won’t work and cannot be turned to light & airy style in post-processing: shooting in a location with a dark background -If you are going for this style, try to be consistent and pick a suitable location, shoot in the right time and communicate outfit ideas with clients. -Note that I didn’t use a flash in this part as it wasn’t necessary: When I exposed for the subject, the light colored background became slightly brighter (but not washed out) to give the photo a light and airy look. 2. Golden Hour in Natural Light (2:36) -There’s just one exposure (ambient exposure) when you shoot in the natural light, and this is the combination of the camera’s ISO, Aperture and Shutter Speed. This exposure affects both the subject and the background. -Avoid a bright background when you are just shooting in the natural light. Instead, pick a spot in which when you expose for the subject, the background is also being well exposed. -Example: an open shade with diffused hair light behind the subject (perfect spot for backlight photos!) -Be careful: during the golden hour, if the sun is coming directly to the lens, focusing will be hard and the photos can be hazy. There will be a video upcoming up soon on how to deal with this situation. 3. Golden Hour in Natural Light + Flash as soft fill light (6:42) -I kept the same camera settings as in #2 so that the ambient exposure did not change. -Then, I adjusted the flash power to get the proper flash exposure on the subject. -Since the flash is very soft and weak, the result is similar to the natural light scenario. -Biggest benefit of adding a flash here: bigger catchlights -Again, there’s no right or wrong in adding a flash or not, it is all about your photography style, so you get to determine your own fate~ 4. Why I didn’t try to underexpose the ambient light and power up the flash to create dramatic shots? (9:14) -This location is not quite suitable for dramatic shots; I could have lost the vibrant color and the golden sunlight in the background if I underexposed the ambient light. -In other scenarios when the background is bright and colorful, I will definitely underexpose the ambient light during the golden hour and create dramatic shots. More tutorials and behind the scenes coming up. And oppps…the zip of my dress broke… *** Equipment -Camera: Canon 5D Mark iv -Lenses: Canon 85mm F1.4 -Flash: Godox AD200 -Softbox: Glow Ez Lock Octabox (36”)
By Christina Szeto October 17, 2020
YouTube Tutorial:
More Posts
Share by: